.jpg)

Microsoft Teams Screen Sharing: How to Share Your Screen
Screen sharing is a game-changer in Microsoft Teams - it's the secret to making remote meetings feel like they're really happening in the same room. Whether you're trying to sell a sales deck, walk people through a tricky bug report or train new employees from home, being able to show your screen is a total mood-booster.
For businesses, getting screen sharing right is key to keeping sensitive info safe and making sure everyone's on the same page. This guide's going to walk you through the nitty-gritty of sharing your screen in Teams, tackle some common problems and give you some advanced tips you might not know about.
Introduction to Screen Sharing
Screen sharing is one of the most powerful tools in Microsoft Teams - it allows you to share your screen with other meeting participants in real-time. This makes it easy to give presentations, show off new software or walk people through documents in no time. Whether you need to share your whole screen, a specific window or a PowerPoint presentation, Teams makes it easy to tailor your presentation to your audience's needs. And because Teams supports screen sharing across desktop, web and mobile, you can get on with your meetings no matter where you are. With just a few clicks, you can share your screen and make your meetings more productive and engaging.
Launching Microsoft Teams
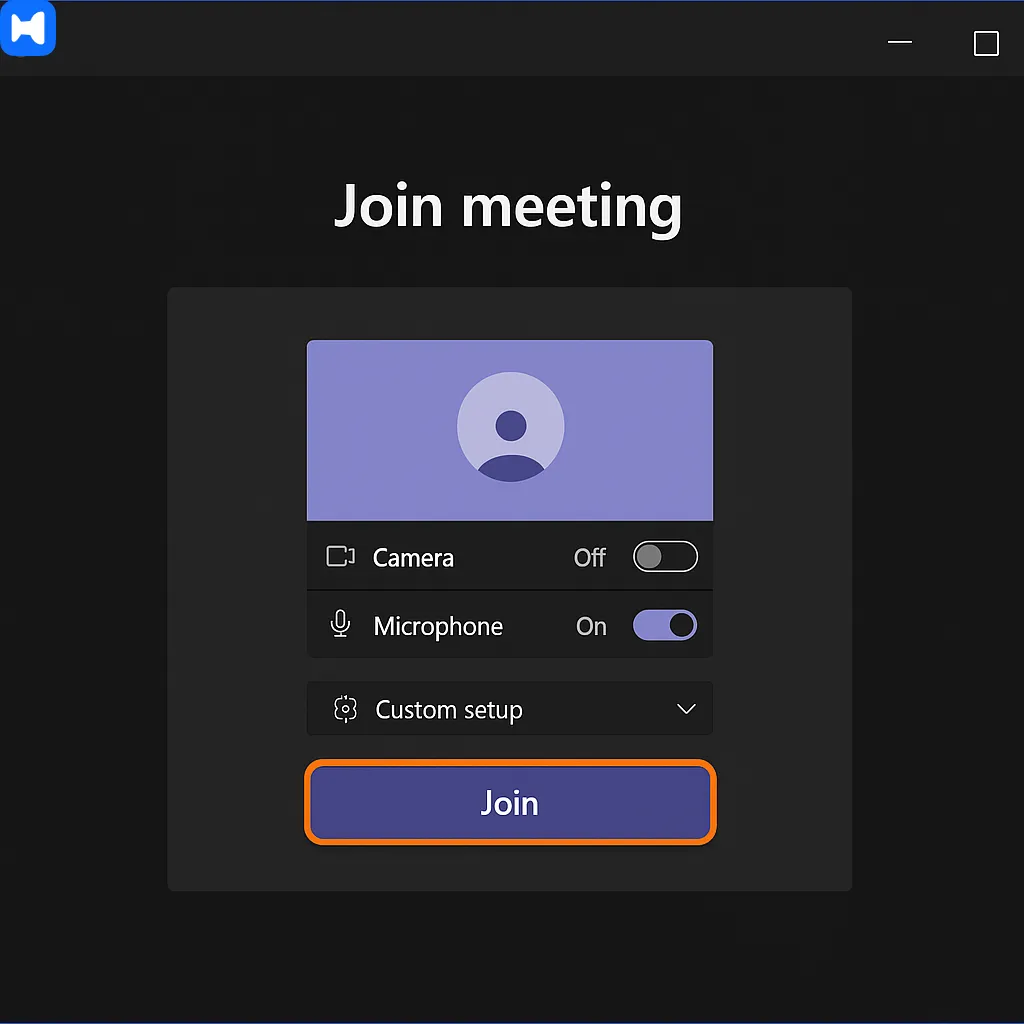
Before you can start sharing your screen, you need to get Microsoft Teams up and running. The good news is that Teams is super easy to use - and getting started is as simple as opening the app on your device and clicking "Join Now". Once you've got Teams open, navigate to the meeting you want to join and click the "Join Now" button. From there, you'll see the screen sharing icon (usually a rectangle with an arrow pointing upwards) at the bottom of the meeting controls - click on that to open up the screen sharing feature and pick what you want to share. It doesn't matter if you're on desktop or web - getting to the share screen option is a breeze.
Preparing for Screen Sharing
Before you start sharing your screen in Teams, it's worth getting your ducks in a row to make sure everything goes smoothly. Decide what you want to share - whether that's your whole desktop, a specific window or a PowerPoint presentation. To keep things tidy, close any windows you don't need and arrange your desktop so that only the things you want to show off are visible. If you want to focus your audience's attention on a particular document or app, use the "Window" option to share just that. And if you're planning a collaborative session, consider using the Microsoft Whiteboard feature to brainstorm and get feedback from your team in real-time. By getting everything ready to go, you'll make sure your screen sharing session is both effective and secure.
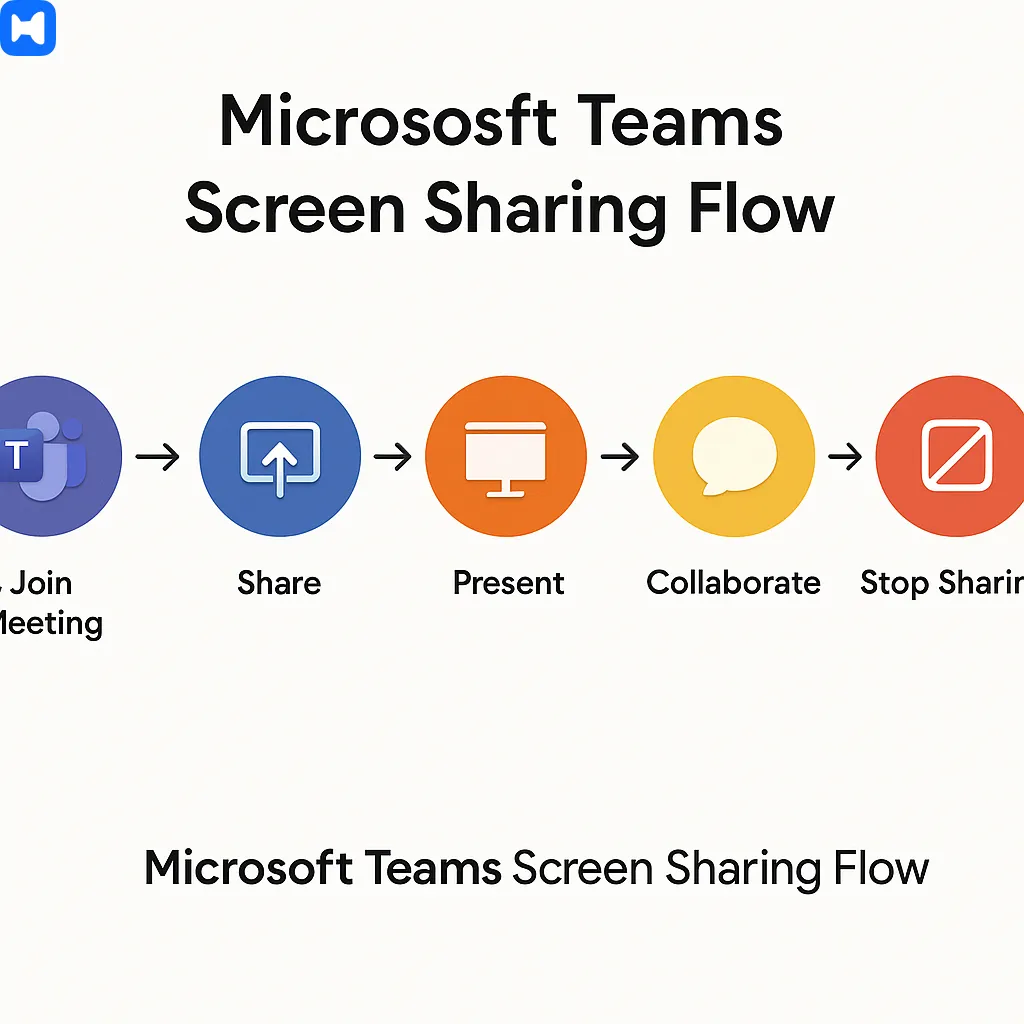
Step-by-Step: How to Share a Screen in Microsoft Teams
Step 1: Launch Microsoft Teams and Join a Meeting
Fire up the Teams app on your device, join a meeting or start one from scratch - either way, screen sharing works a treat.
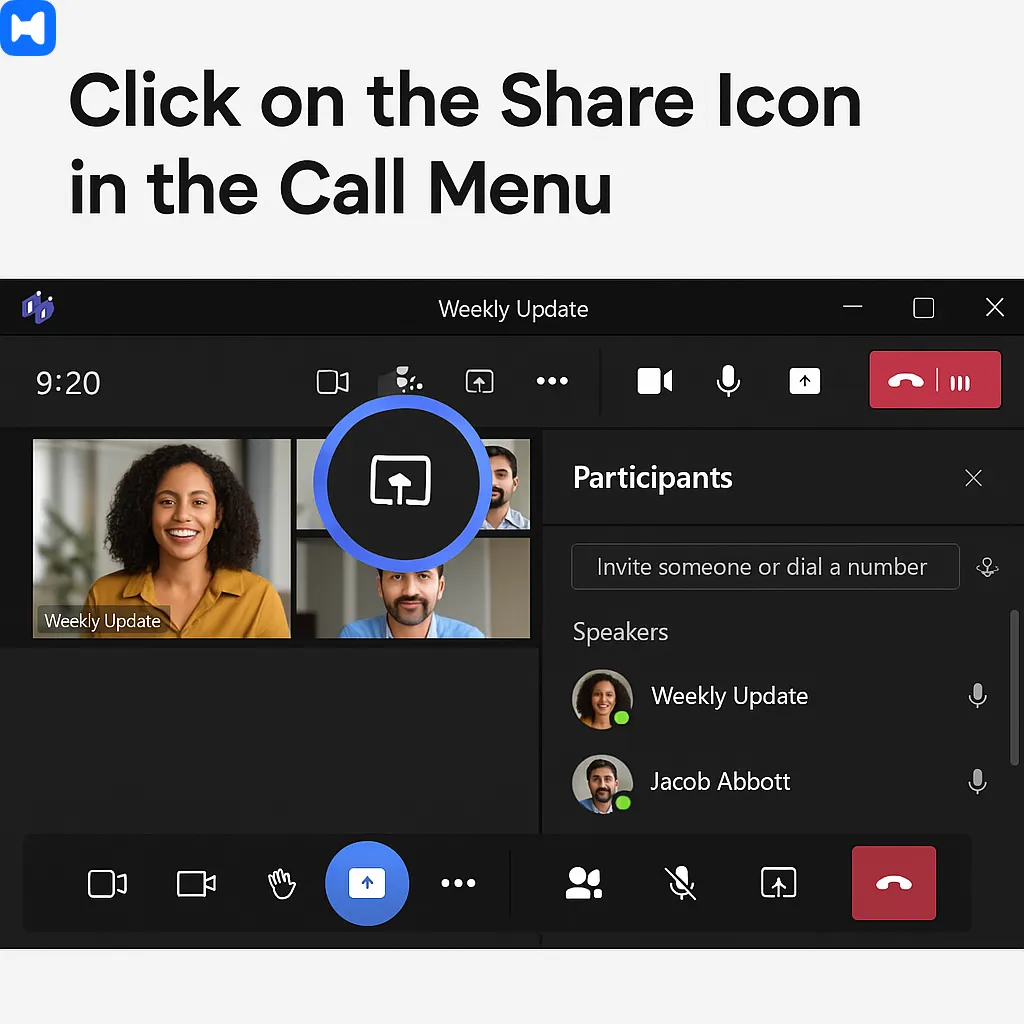
Step 2: Click on the Share Icon in the Call Menu
At the top of the Teams meeting toolbar, you'll see the Share content icon - that's the one that looks like a rectangle with an arrow pointing up. Click on that and you'll be able to share your screen with the other participants.
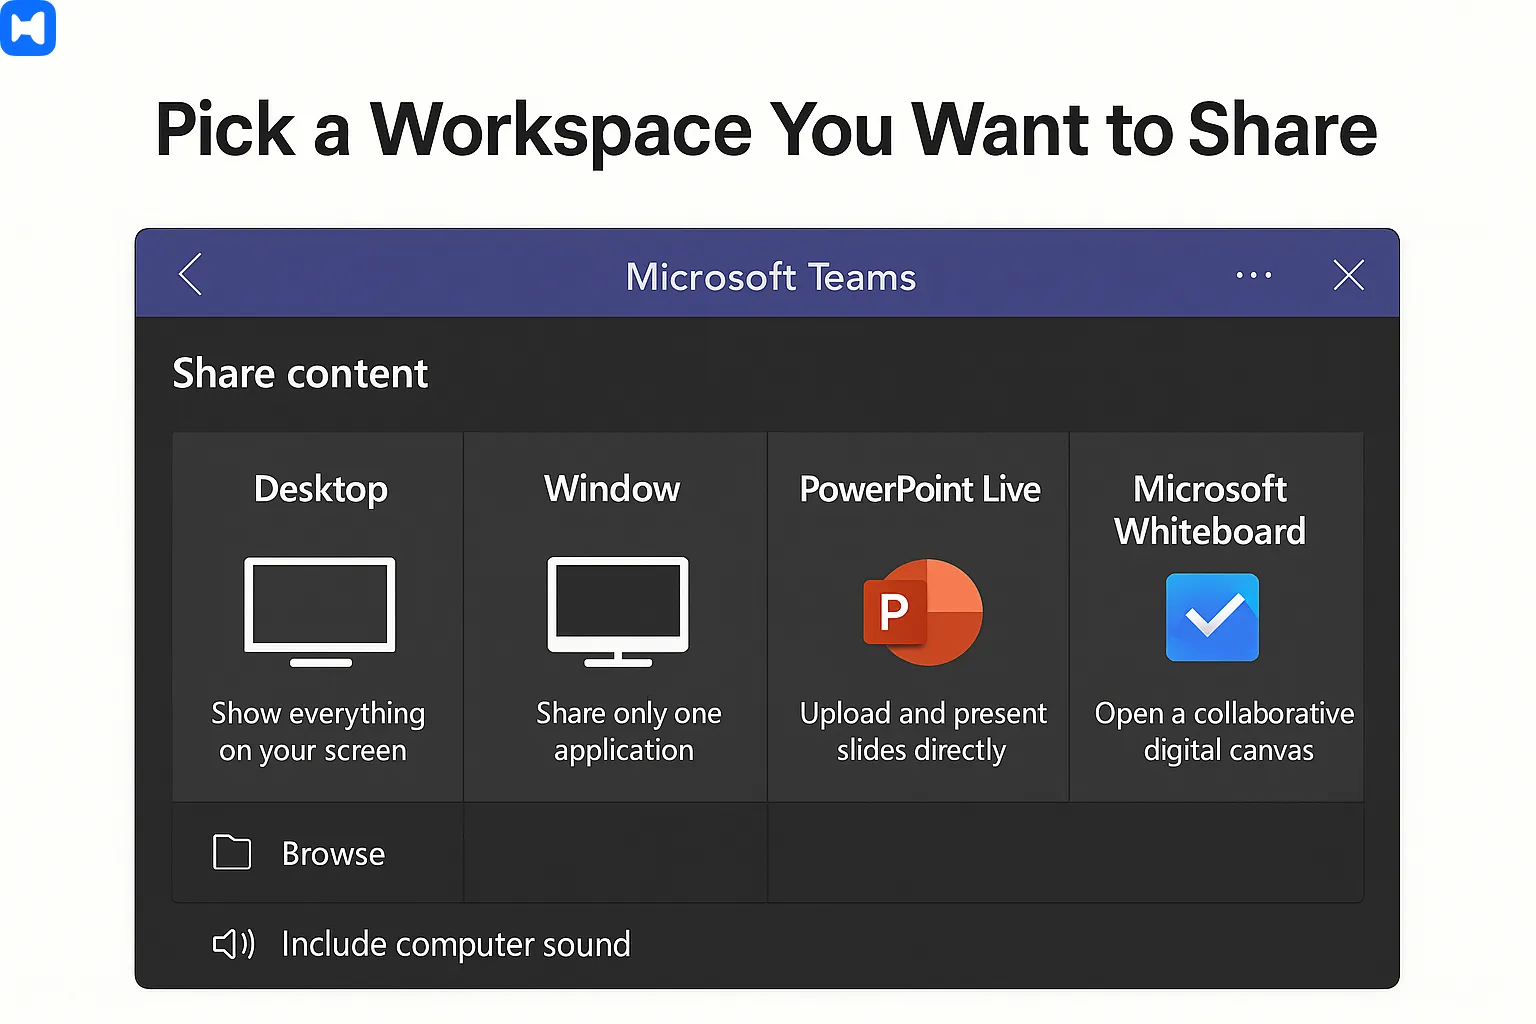
Step 3: Pick a Workspace You Want to Share
When you click the Share button, Teams will give you the following options:
- Desktop: Show off everything on your screens
- Window: Share just one specific app or window (say, Excel or a browser) to keep things private
- PowerPoint Live: Share your PowerPoint presentation directly inside Teams, complete with navigation, speaker notes and video sharing
- Browse: Pick and share a file from your device or OneDrive
- Microsoft Whiteboard / Freehand: Get creative with a collaborative digital canvas and start brainstorming
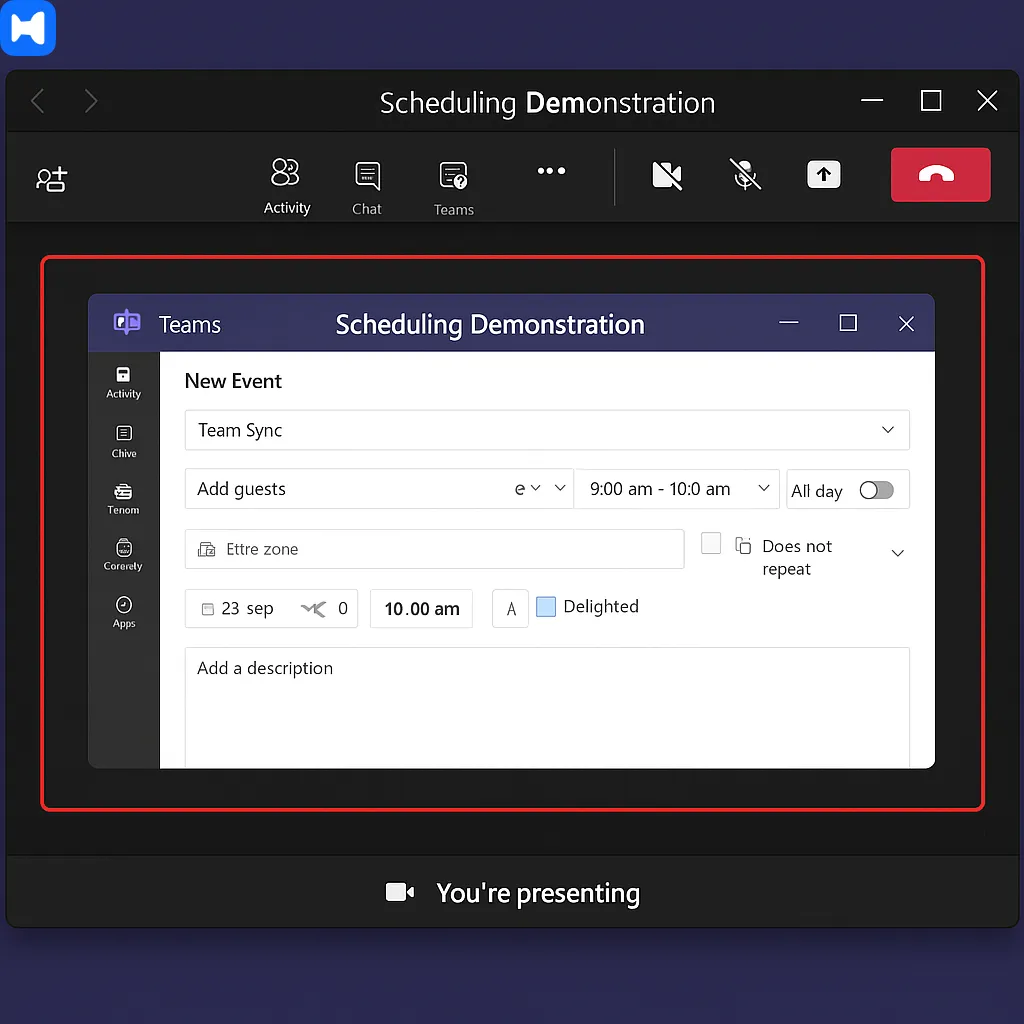
Step 4: Start Sharing Your Screen
Once you've picked what you want to share, click the button to start sharing and Teams will highlight the area you're sharing with a bright red border. The other participants will only see what's inside that border - so if you're sharing a window, they won't see anything else you open outside of it. And as a pro tip, if you're sharing a window, you can manage screen control to let someone else take the reins if needed.
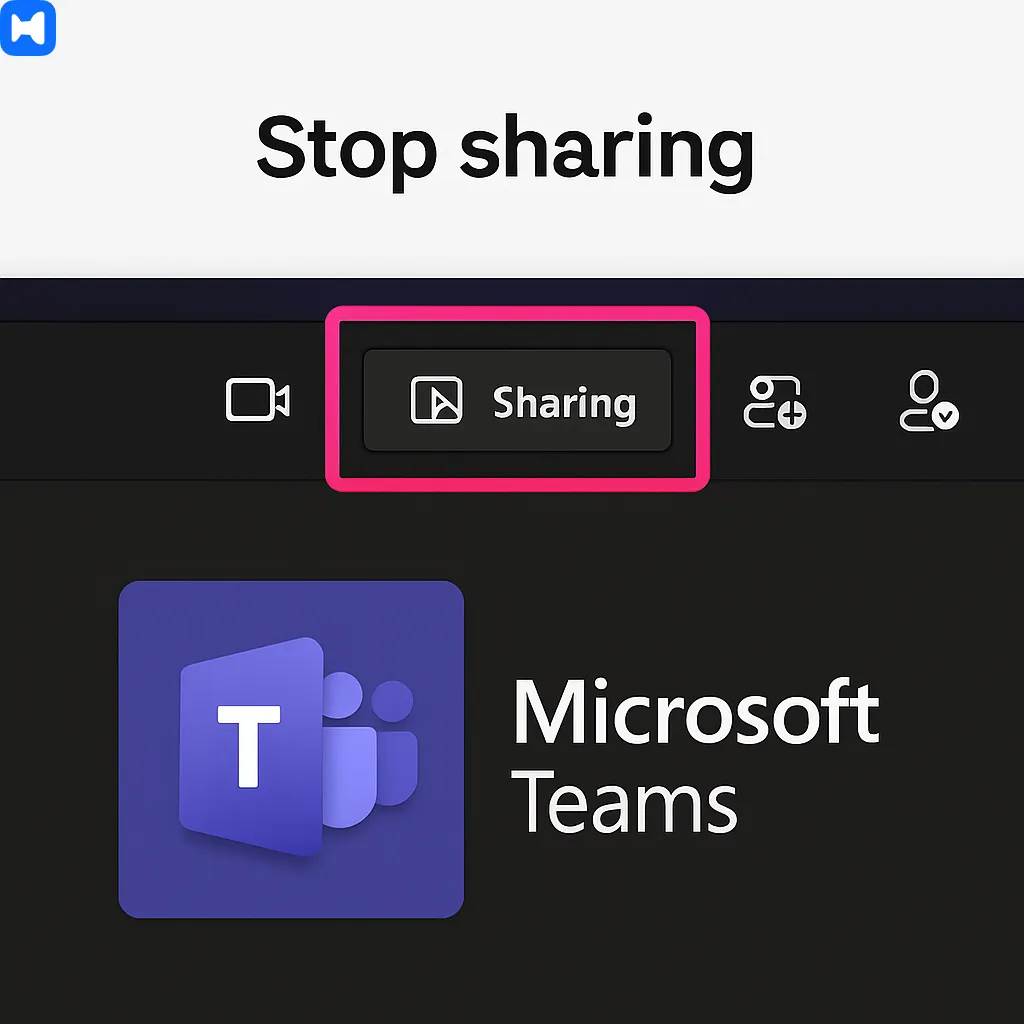
Step 5: Stop Sharing
When you've finished sharing screens, click on that Stop Sharing button in the toolbar to shut down the sharing. Before moving on, always double check that you have actually stopped sharing to keep your info private and prevent any unwanted snooping on sensitive material.
Quick Guide: Microsoft Teams Screen Sharing
If you want a quicker look at things, here's the condensed lowdown:
When in a Meeting
- Get into the meeting either by joining in or starting it from scratch.
- Click on the Share content button from the meeting toolbar.
- Choose what you'd like to share:
- Your whole screen
- A single window
- PowerPoint Live
- Microsoft Whiteboard
- Toggle Include computer sound if you're planning on sharing video or audio.
- When you're sharing, a red border should pop up around the stuff you're showing.
- Click that Stop sharing button when you're done.
When in a Chat
- Open up a Teams chat with a colleague. You don't just have to share in meetings, you can share screens directly via Teams chat as an alternative.
- Click on the More options (...) three dots and select Screen sharing.
- Pick the screen or window you'd like to share.
- The person you're sharing with will get a notification asking them to accept.
- Click that Stop sharing button when you're done.
Giving Others the Wheel
While you're sharing, you can let someone else take control of your screen. This is super helpful for when you need to collaborate on things or do some joint training. Just be aware that you can revoke control at any time.
Tips and Tricks for Sharing Your Screen on Microsoft Teams
- Prepare your content: Close unrelated apps and tabs to avoid accidental oversharing.
- Use the right window: If you don’t want people to see notifications or sensitive files, pick “Window” instead of “Desktop.”
- Practice before the meeting: Run a test share to avoid hiccups and prevent technical issues during the actual meeting.
- Check your bandwidth: A stable connection improves video quality (Microsoft recommends at least 2 Mbps for HD sharing).
- Use annotations: Take advantage of Whiteboard or in-meeting drawing tools to highlight points.
- Communicate: Narrate what’s on screen instead of assuming everyone follows.
- Leverage collaboration feature “Give Control” carefully: It’s a powerful collaboration feature but should only be used with trusted participants.
- Go full screen for presentations to maximize clarity.
- Keep Teams updated: New features roll out frequently (e.g., PowerPoint Live and Copilot AI were added in 2023–24).
- Always end sharing: Prevent awkward or confidential leaks.
Troubleshooting Screen Sharing in Microsoft Teams
Even with practice, issues pop up. Here’s how to fix common ones:
- “I can’t share my screen.” Check if your Teams admin has restricted sharing, or update your app/browser. Also, make sure screen sharing permissions are enabled for the Teams app in your device settings.
- Verify that Microsoft Teams is among the apps listed with screen sharing permissions in your system preferences.
- If you are trying to share other applications and encounter issues, ensure permissions are granted for sharing other applications as well.
- Blurry or lagging screen share. Switch to a stronger network or share only a Window/Tab to reduce bandwidth load.
- No audio sharing. Make sure Include computer sound is toggled on. Note: this is only available when sharing a desktop or a Chrome/Edge tab.
- Others can’t see my updates. Re-select the screen or stop and restart sharing.
Device-Specific Instructions
On Laptop/Desktop (Windows, macOS, Linux, ChromeOS)
- Open Teams, join a meeting, click on the Share content button and pick what you want to share (desktop/window/PowerPoint).
- Mac users: You need to give Teams permission to record your screen in System Preferences > Security & Privacy.
On Mobile (Android, iOS/iPadOS)
- Get into the meeting via the Teams app.
- On an Android phone, tap the three dots (...) More > Share > Share screen. Make sure sharing permissions are set on for the Teams app (if you go to your device's settings, check through the apps listed and make sure Teams has permission to appear on top and share your screen).
- On iOS, just confirm Start Broadcast.
- Don't forget that you can share vids during screen sharing but be aware that audio or notifications might interrupt playback.
- Try not to overdo it - notifications might pop up during sharing.
Multi-Monitor Setups
- Teams will display each monitor as a separate option. If you have a second monitor, you can pick the right one for sharing in Teams. Pick the one with the content you need to share.
Browser vs App
- In the web app (Edge/Chrome), you can share tabs with audio.
- But for best stability and features, stick with the desktop app.
Advanced Features in Microsoft Teams
- PowerPoint Live: Upload a file, present with speaker notes, and let participants navigate the slides privately. PowerPoint sharing is an advanced feature that lets you share just your presentation content efficiently.
- Microsoft Whiteboard: Create new boards for brainstorming visually with sticky notes, drawings and reactions for real-time collaboration.* Third party apps - Miro or Freehand etc - can be dropped into a meeting if you need them.
- Sharing control is a useful feature for training - just make sure to take it back once you're done to stop any sneaky access to your laptop.
Security and Privacy Considerations
- Shut down any sensitive apps like email or work spreadsheets before you start - you really don't want some confidential stuff accidentally getting shared.
- Window sharing is a good way to limit what you're exposing - sometimes less is more.
- Microsoft Teams encrypts all the data as it goes - but your admin might have some extra rules to follow (Microsoft Docs, for reference)
- Just be careful when letting others control your screen - and only do it with people you know you can trust.
Ending the Screen Sharing Session
When you're done with your presentation, ending the screen sharing in Microsoft Teams is dead simple - just click "Stop Sharing" or select "Stop Presenting" from the menu and the meeting will revert to normal view right away. Just remember to wrap things up neat and tidy to avoid having any of your confidential info getting shared by accident. By getting this right, you can sign off with confidence and keep your content safe.
Conclusion
Screen sharing on Microsoft Teams is more than just a button - it's a skill that can really make remote work work for you. By mastering the basics - sharing your desktop, switching between window and desktop, using PowerPoint Live - and following a few basic rules - like getting your act together before you start and narrating as you go - you can avoid looking like a nervous wreck and keep your audience engaged.
And lets be real, once you know the more advanced stuff - like handing over control for editing, just grabbing a whiteboard for brainstorming, or firing up tab sharing for multimedia demos - you'll be presenting like a pro in no time. Just remember some basic troubleshooting and you'll be golden.


